Blog

 RSS Feed

» Listings for 2013

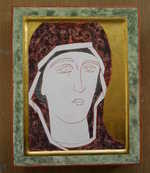
  1. Mary is coming along faster than I can blog about her, so I shall change tack! With only one more lesson to go, she is nearly finished so with that in mind, I shall put all of the images together in a video so that you can see the whole process. Here is a sneaky peak of how she is looking at the moment though....
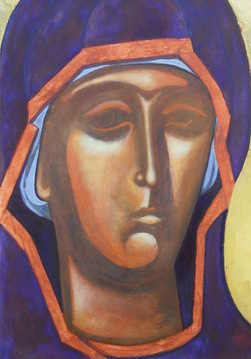
    Icon nearly finished

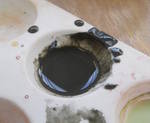
    She is a bit bluer than she is supposed to be (historically Mary's cloak should be more red). That's the tricky part about using egg tempera, you never quite know what the paint is going to do! This is the cloak colour in the pallette, honestly! For some reason on the actual piece, the red pigments give way to the cobolt blue. She may get another 'float' (or wash as it's otherwise known), next week.
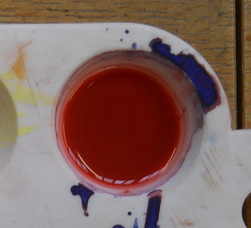
    Icon cloak colour

  2. Look out for the new 'framing up' kit now available in the shop and corresponding video on the technique on the 'How to...' video page. 

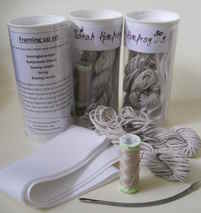
    Framing up kits

    This kit contains all the materials you need to frame your chosen embroidery fabric on an embroidery frame including herringbone tape, strong sewing thread and needle, string and a specialist bracing needle. It is available now from the shop here.

    There is also a new video on this technique available on the 'how to...' video page! Click here to see how exactly to use the materials to frame up your fabric securely to help you make those perfect embroideries!

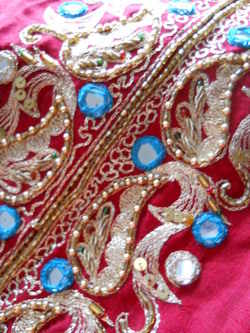
  3. 'Jewels of the Raj' - A one day class in Indian inspired mirror embroidery, Sunday 12th May in Rugby, UK.

    You will learn to work shisha mirror stitches and combine them with other indian embroidery stitches to make your own indian inspired mirror embroidery.

    There are still some places left so for more details and to book, visit the Heart of Embroidery website, or send me a message here, putting 'Jewels of the Raj' in the subject line

    Hope to see you there!

    Shisha shirt

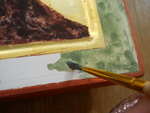
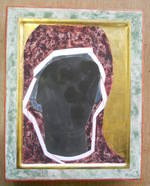
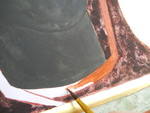
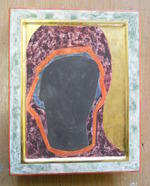
  4. This week, the white bits are filled in and Mary gets a face! The green border is filled in with the egg tempera as before. The green colour represents the green olive branch and separates the divine Icon from humanity.

    Icon green border   Icon green border finished

    This, believe it or not, is the colour of the face!

    Icon face colour

    Icons are worked from dark to light, this colour will be the darkest tones of the face.

    Icon first face layer

    Lots of thin layers of paint are better than one thick layer. This has had 3 layers

    Icon braid paint

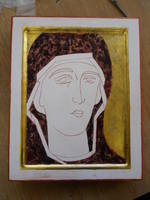
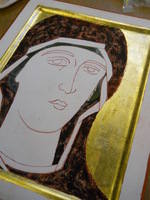
    The last white area to be covered is the braid. The darkest layer of this is an orange/brown colour. So now the whole board is covered! 

    Icon first paint layer


  5. Usually you have to leave the good bit until the end but not in Icon writing! Got to do the guilding next (so it doesn't stick to the paint that follows)

    Icon guild bole   Icon guild bole 2 

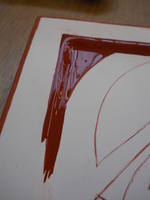
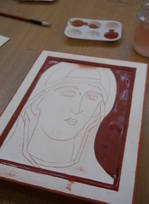
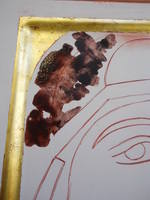
    Painting on the bole (a sticky paint mixture!) for the gold leaf to stick to

    Icon gold leaf1   Icon finished gold leaf

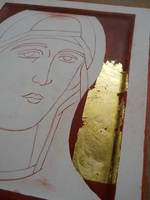
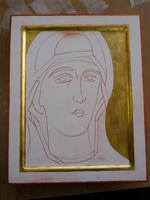
    The gold leaf is applied over the dry bole which has been sanded lightly to make it smooth.

    Icon first paint layer   Icon paint 2

    The first layer of Egg Tempera goes on. This is a mix of 4 pigments, egg, white wine vingear and water! It goes on unevenly (I guess we will find out why soon!). Icons are always worked from dark to light and there are four painting stages. This is the first, the painting of the background colours.

    Icon green paint layer

    The green headress is painted next ithe same uneven way. 

    Mary is ready for her face!

    More interesting Icon facts:

    Hands are always blessing, praying or pointing to God.

    The red/brown of Mary's clothing represents humanity, the blue green of her headress, Divinity.

    The border on an Icon separates the Divine from humanity (i.e. us!)